Recently I got my CNC router up and running (more on that in a later post). The main materials I have been cutting are MDF board and acrylic/poly-carbonate. The acrylic/poly-carbonate cuts very nicely and is easy to clean up. The MDF on the other hand creates lots of fine dust which is difficult to clean and contains formaldehyde which is hazardous to your health. As such I need to employ a system to extract dust from around my CNC machines cutting head. I have a basic nozzle set up on the mill but the vacuum I am using is a retired house model which uses a paper bag which is difficult to empty. To make the system easy to empty I have started designing and building a dust extractor to go inline between my machine and the vacuum.
The cone shape below will sit atop a large paint bucket or other container to collect the dust. I will need a few hose connectors to get air in and out too.

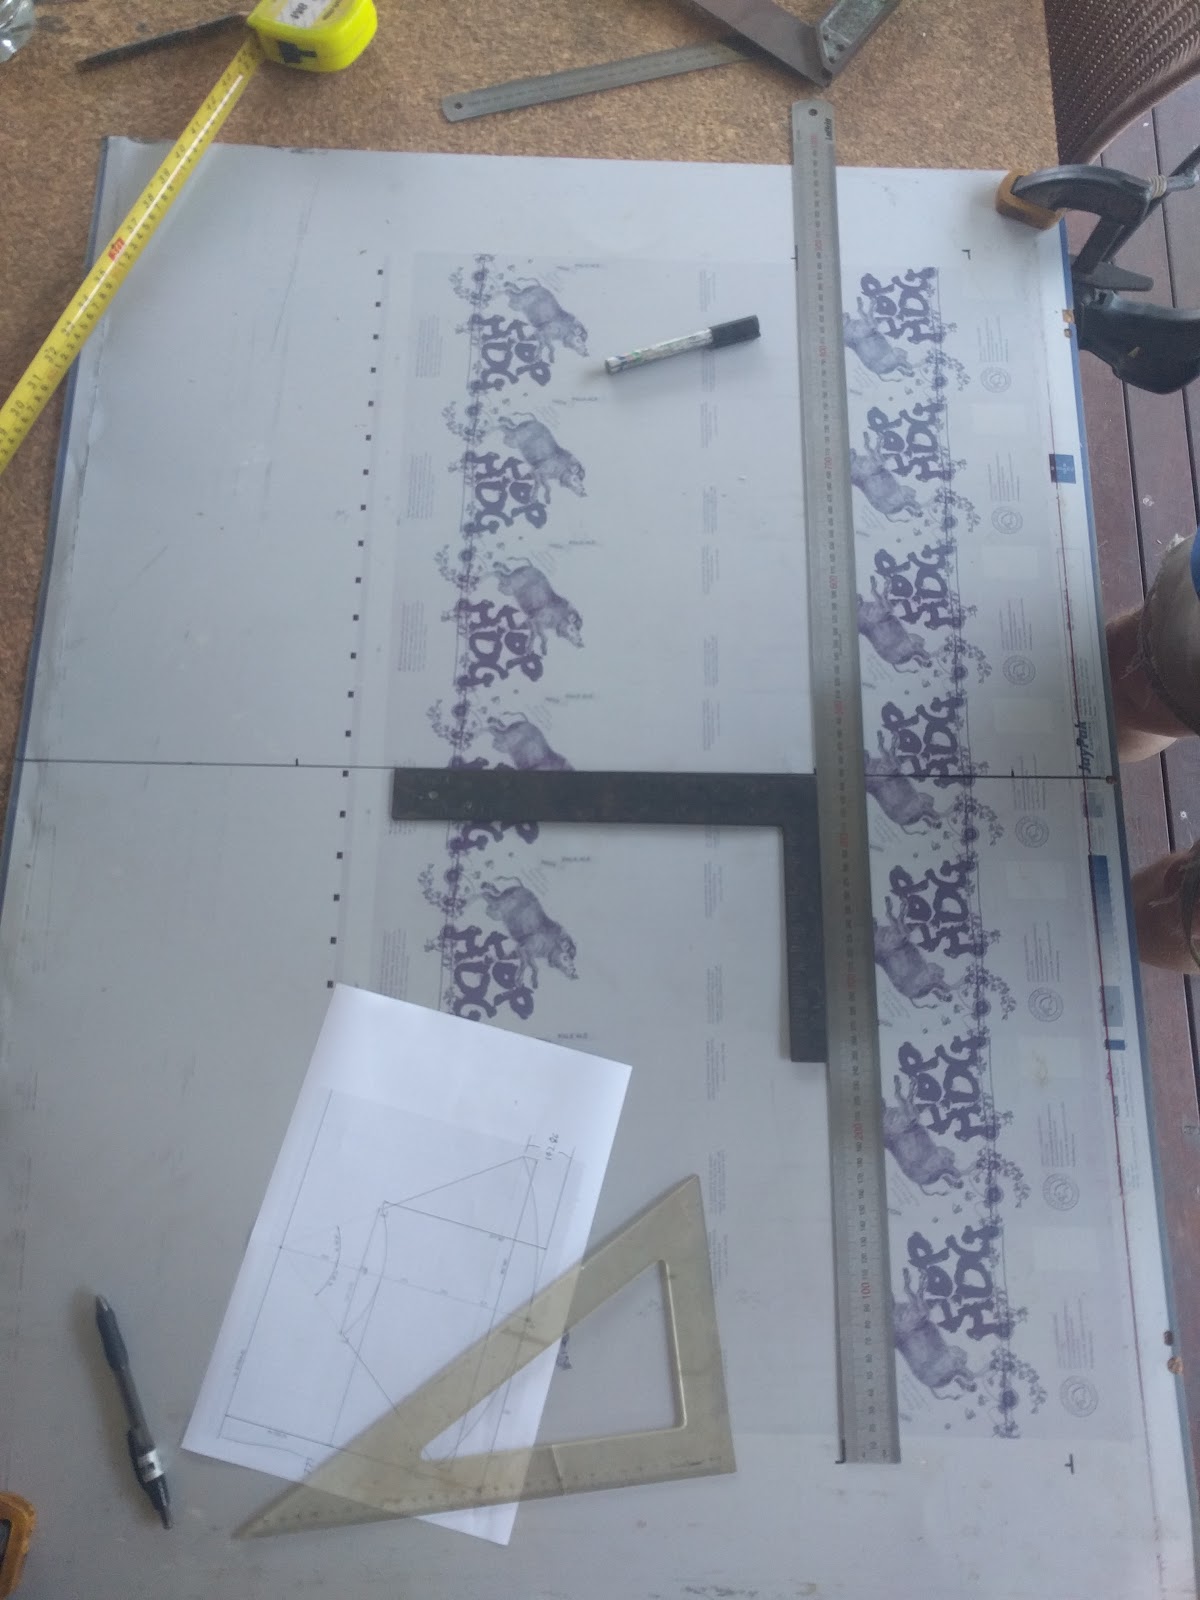
First I started with the dimensions of the cone I wanted and calculated the net so I could lay it out on a flat sheet of flexible material which I will then bend into shape.


I drew out the design using a 1 meter ruler, set square, a nail and some wire for doing the arcs. I used some stainless steel sheet that I had leftover from another project, it is quite thin and flexible so should suit my purposes.

I tried a couple of tools cutting out the design but settled on the tin snips. I was lucky to have material of the right size that would suit this project. If you are looking for materials I suggest finding a metal recycler, they often have large off cuts from industry and will sell by weight of the material.

After a bunch of cutting out and drilling I assembled the cone with some M3 bolts, washer and nuts.


I had the basic cone, now I needed to be able to connect hoses to it and to direct the airflow around the cone. I used fusion 360 to design these parts. The top and bottom plates were easy but I spent a bit of time making the side intake as I was learning some CAD functions I had never used before.

3D printing really suited making the hose connectors as there are a number of complex curves in the parts. It printed with a lot of support material inside the tubes but this was okay as Simplify3D has very good support generation (coming from using slic3r for 2 years).

I used my CNC router to make the plates for the top and bottom of the cone. I wanted these in acrylic and not sheet metal as it will add a lot more rigidity to the cone, handily a friend donated me some poly-carbonate a while ago. The picture on the left shows the machine part way through cutting, I use Fusion 360's CAM to generate the path files. I later realised I wanted a larger opening for the air so I had to set up the part again (right image) and find a reference point to use to relate back to my design. I jogged the machine to two diagonal holes near the center and calculated the center from those, it might not be super precise but was close enough for my purposes. Note that the cutting of these disks could be done with a small handheld router and circle jig.


Here it is all assembled. I need to wrap some tape around the joins to help seal it all up and run some plumbing between the vacuum and router.

Unfortunately during testing I blocked the inlet hose and my vacuum cleaner imploded the cone! I was a bit distraught, perhaps I could have used some thicker material to construct the cone? In any case I have a solution. I cut out some rings on the router and glued them along the height of the cone to strengthen it.

In some brief tests the bucket gets filled with dust and debris, I have not measured the efficiency yet but I plan to by sucking up a known weight of dust and then weighing what is deposited in the bucket.